How to make an unattended Ubuntu Server Installation ISO with cloud-init
Updated on 16 Jan, 2022. I worte a post for Ubuntu 20.04 Server.
It will be convenient if the installation is fully automated when configuring multiple nodes at the same time. However, I believe Ubuntu doesn't care about unattended installation via the CD image. Its developers seem to be unwilling to write a detailed tutorial about that, even some changes they made make trouble unintentionally. Note that installing via PXE Network Boot is a good alternative.
Before getting hands dirty
An unnoticeable fact is that Ubuntu Server replaced its installer silently, which means some tutorials are actually not applicable for specific versions of Ubuntu. According to my observation, we have two installers so far,
- Before Ubuntu 18.04.3:
Debian-Installer, a non-live installer - Ubuntu 18.04.4~18.04.5:
Old version ofsubiquity, a live installer, without unattended installation support- There are two varients, (thanks for jack's comment)
- one is called
non-liveversion withDebian-Installer - another is called
liveversion with old version ofsubiquity, which doesn't have unattended installation support
- one is called
- There are two varients, (thanks for jack's comment)
- Ubuntu 20.04:
subiquity, a live installer, with unattended installation support
Consider that Ubuntu 18.04 has excellent compatibility, this tutorial aims at making Ubuntu 18.04.5 Installation ISO. As for Ubuntu 20.04 users, please refer to this tutorial https://gist.github.com/s3rj1k/55b10cd20f31542046018fcce32f103e or my newer blog post for your information, and you can still read this tutorial because some approaches mentioned in this article also work.
Download ISO and Tools
Since Ubuntu 18.04.4~18.04.5 doesn't support unattended installation, we have to use Ubuntu 18.04.3 as the original version. Note that this version is deprecated. Thus it can only be downloaded from Make sure what you download is a old-releases site.non-live version, such as,
1 | http://old-releases.ubuntu.com/releases/18.04.3/ubuntu-18.04.3-server-amd64.iso |
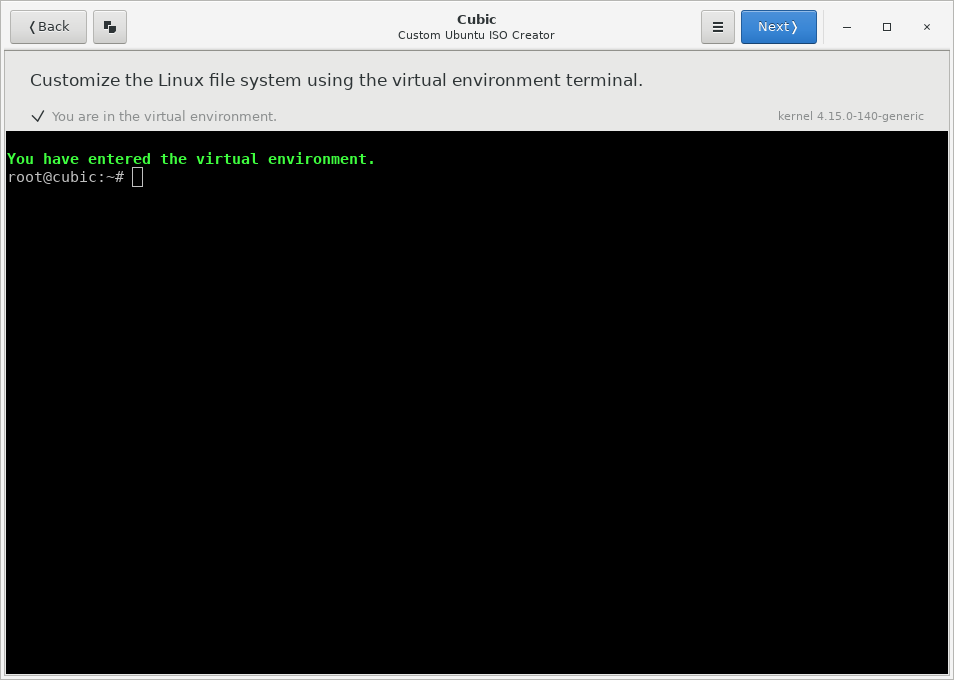
There is an excellent tool called cubic, which helps us decompress and repack the ISO file and rootfs image. Also, it will automatically set up the virtual environment (chroot), where modifying the root filesystem is quite easy, just like operating a regular Ubuntu.
1 | sudo apt-add-repository ppa:cubic-wizard/release |
Run cubic command in the terminal to launch this program.
Modify Root Filesystem
Generally speaking, all the files existing in the virtual environment will be directly copied to the machine where this system is installed, except several files generated during installation. Thus, you can preinstall some software in this step.
Install and Upgrade Software
Consider that Ubuntu 18.04.3 is a bit outdated, so some build-in software should be upgraded.
1 | apt update && apt upgrade -y |
Note:
- The Linux Kernel has been installed in this stage, and it will be installed by
Debian-installerduring installation. Therefore, you still need to performapt upgradeafter installation.- You can change an APT repository in the virtual environment, but the file
/etc/apt/source.listwill be replaced byDebian-installerorcloud-initeventually.- SSH server could be installed in advance to save some time in installing OS, and
cloud-initwill regenerate SSH-key during the first boot.
Write Post-Installation Script
cloud-init is widely used in the cloud industry to initialize the system during the first boot. In fact, we could utilize it to do post-installation configuration. It is recommended to refer to these examples to customize your script: https://cloudinit.readthedocs.io/en/latest/topics/examples.html.
I attach my script located at /etc/cloud/cloud.cfg.d/20-asc-init.cfg here for your reference.
1 | #cloud-config |
Optional: Configure DHCP for all network interfaces after installation
Debian-installer has a known bug: netcfg/choose_interface=auto fails to pick the functional network interface from many ones. Meanwhile, cloud-init also only configure one interface since most of the cloud instances only have one. If your machine happens to have one interface, you can skip this part. Otherwise, you need a workaround.
I wrote a script /usr/bin/asc_init_net to automatically generate configuration file for Netplan during post-installation. All interfaces will contact the DHCP server to get available IP addresses simultaneously. Of course, this script should be executed by cloud-init as bootcmd.
1 |
|
Don't forget to set the correct permission.
1 | chmod +x /usr/bin/asc_init_net |
Clean up
/etc/machine-id might be generated when you install some software or do something else. However, this ID should vary from machine to machine. If two machines share the same ID, they may get the same IP address from the DHCP server. Therefore, this file should keep empty.
1 | echo -n > /etc/machine-id |
Note: This file could be regenerated by running
systemd-machine-id-setupor rebooting the computer.
Moreover, cloud-init will be executed on the next boot only if it is clean, then it will write something to disk to prevent itself from running again. To make sure it will work as expected, we can clean it manually.
1 | cloud-init clean |
Write Preseed File
Preseed files store all the answers to the questions that the installer asks. Move to the directory custom-disk, which is created by cubic and contains the supporting files of the CD, including bootloaders and some configuration. Create a file custom-disk/preseed/auto-inst.seed, and write the following content to that file.
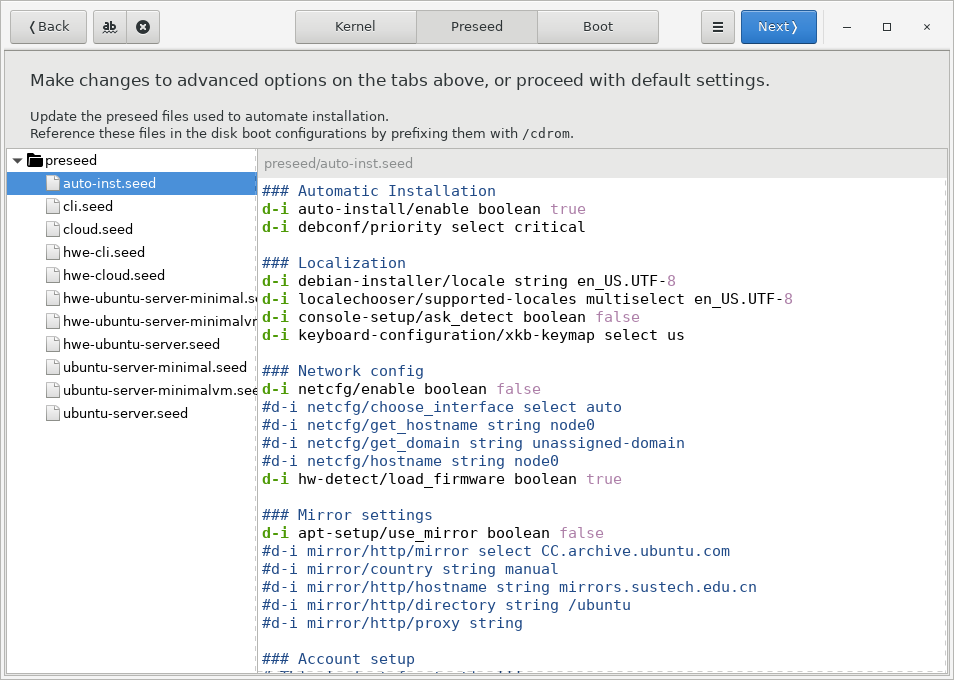
1 | ### Automatic Installation |
Note: The network is disabled during the installation due the problem we talked about earlier. As a result,
debian-installwill
- Fail to use self-defined APT repository
- Skip setting the host name
- Skip configuring
netplanBut, all the problems above can be fixed by
cloud-init.
Add Boot Arguments
Automatic installation requires us to pass extra arguments to the kernel. Luckily, cubic will help us to edit the configuration of bootloaders.
Note: There are two bootloaders in the CD image.
grubis used to support theEFIfirmware, andisolinuxis used to support the traditional BIOS.
Write the content below to the corresponding file.
boot/grub/grub.cfg
1 | if loadfont /boot/grub/font.pf2 ; then |
isolinux/txt.cfg
1 | default autoinstall |
Note:
isolinuxhas a build-in optionRescue a broken system.
By now, everything is ready to go. Let us enjoy the automatic installation.